Directing, Rehearsal, & Production
Budgeting
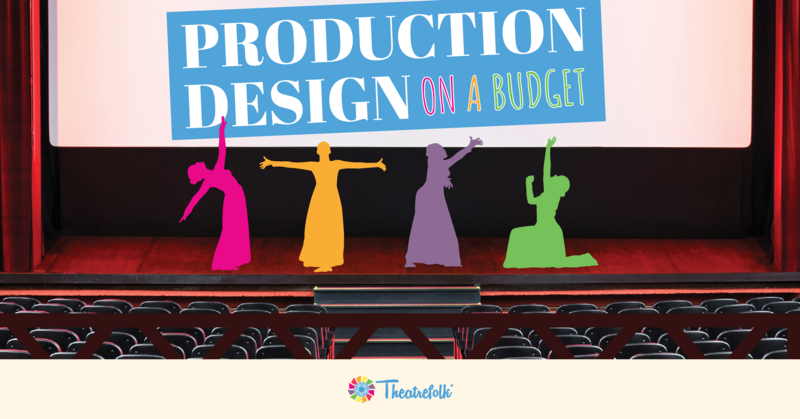
Top 8 Tips for Producing Shows On a Small Budget
Are you the only drama teacher trying to build a thriving theatre program on minimal resources? Theatre can happen anytime, and anywhere. You can produce powerful theatre experiences without fancy...