Diversity & Inclusion
Inclusive Drama Classrooms
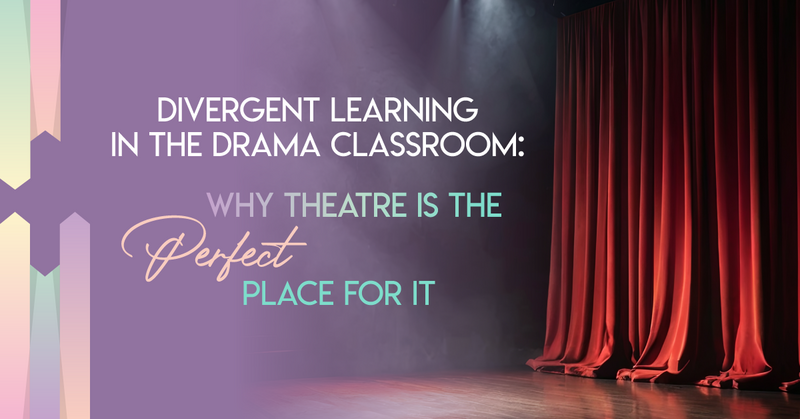
Divergent Learning in the Drama Classroom: Why Theatre Is the Perfect Place for It
Divergent learning is all about extending from a common point in many different directions — seeing multiple solutions, embracing different ways of thinking, and acknowledging that every individual...